Access Analytics
Navigate to the Admin View Analytics dashboard.
Prerequisites
- Admin permissions for your organization
- At least one lead pipeline configured
Steps
-
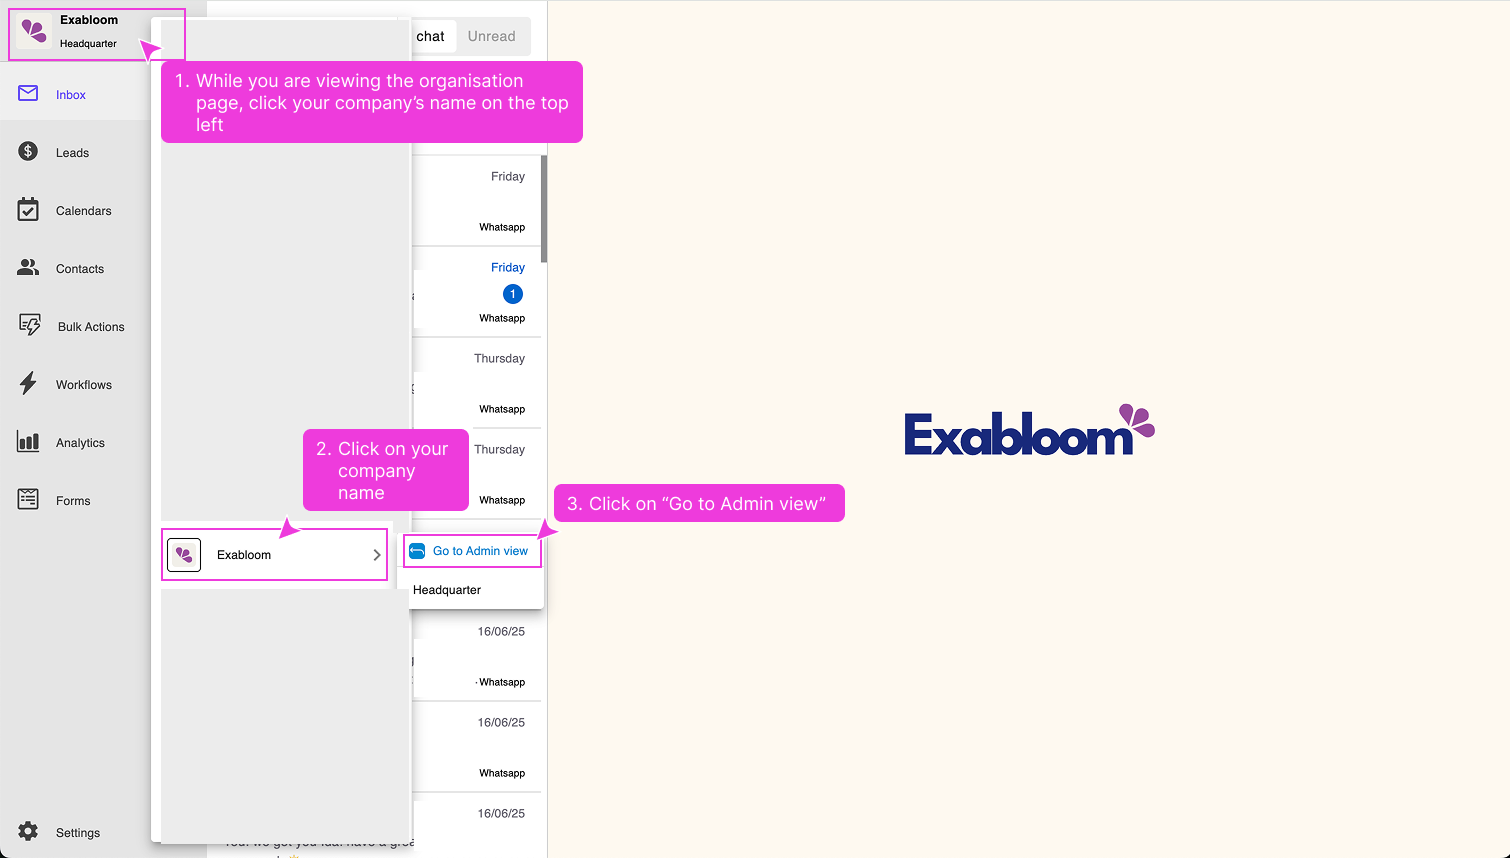
Switch to Admin View from your main navigation.
-
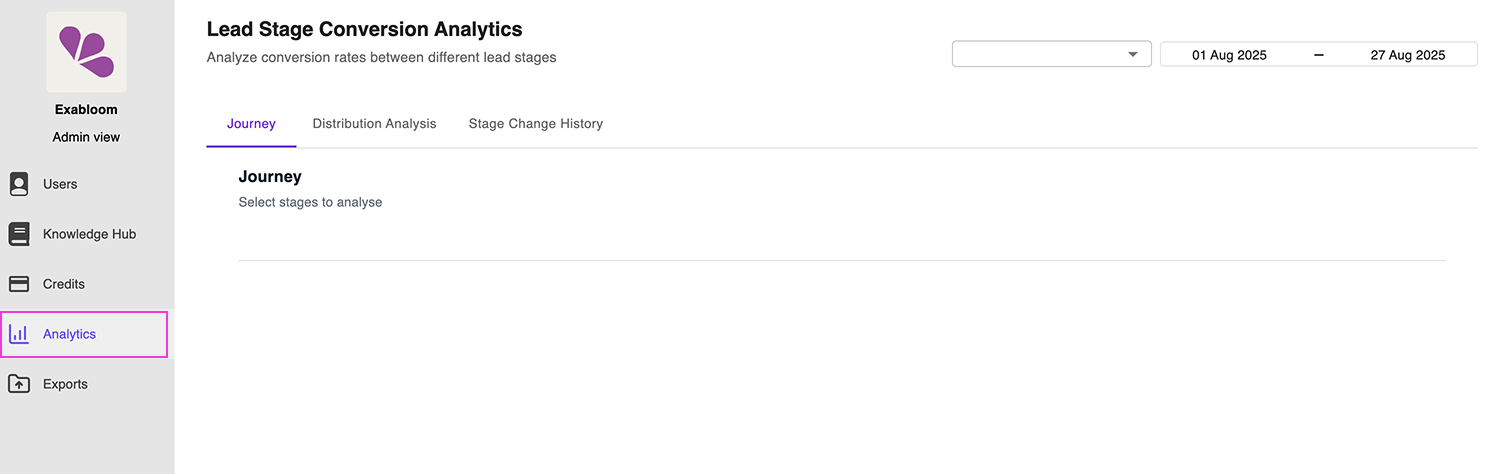
Click Analytics in the menu.
-
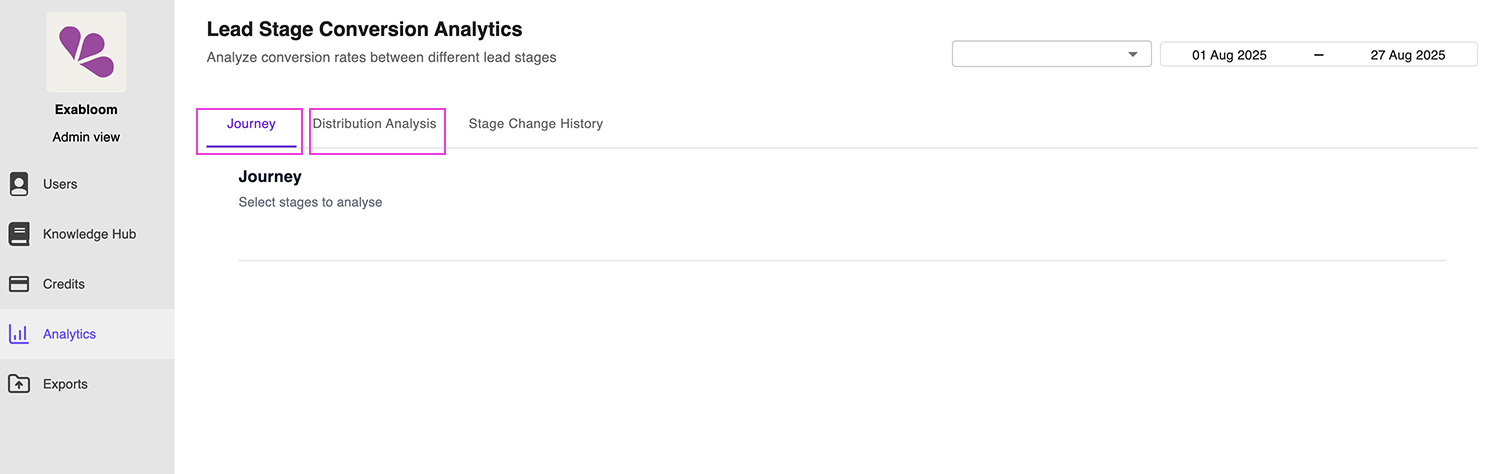
The analytics interface has two tabs:
- Journey — lead progression paths
- Distribution Analysis — current lead distribution
Troubleshooting
Can't find Admin View? Check that you have admin permissions. Look for your company logo in the top-left corner and select Go to Admin view.
Analytics menu not visible? Verify your admin permissions include analytics access and try refreshing the page.